Personal project: Freelensing / Freelensed 31
I learnt a valuable lesson recently – one of letting go. It's a phrase I actually tell myself often, but as an artist and photographer, it is one that I am constantly re-evaluating specially as I develop new skills or delve deeper into photography. What is the meaning of photography? What makes a photograph and what makes art? Some photographs may be seen in a more artistic sense than others, but in my opinion, all photographs are a form of art. It is just letting go a preconceived notion of how a photograph should look that makes a good picture in the eyes of the viewer.
With that in mind, I wanted to share a freelensing 'freelensed31' project I did last month with some other photographers in America. For thirty-one days in August, each of us shot daily by freelensing. Freelensing is a camera technique where you detach the lens from the camera body and keeping the lens close to the camera body, you tilt or rotate the lens to change the plane of focus.
You will need a DSLR or a mirrorless camera with a lens that can detach to try this technique and at least one edge of the lens needs to be touching the camera. I did all my freelensing shots on my Nikon D3300 using a 35mm lens on a crop sensor. With a newer Nikon AF lens, I had the added difficulty of having to find something to prop the lever of the aperture open. I have used bits of paper, dental floss or a straw to keep the aperture open. Luckily for Canon users, you do not need to do this, as the aperture is open all the time.

How to keep the aperture open for freelensing? On the left, aperture is open on a Canon 50mm lens compared with the Nikon AF lens (middle picture). On the right, a slip of paper used to keep the aperture open on the Nikon lens. Copyright Diana Hagues Photography.
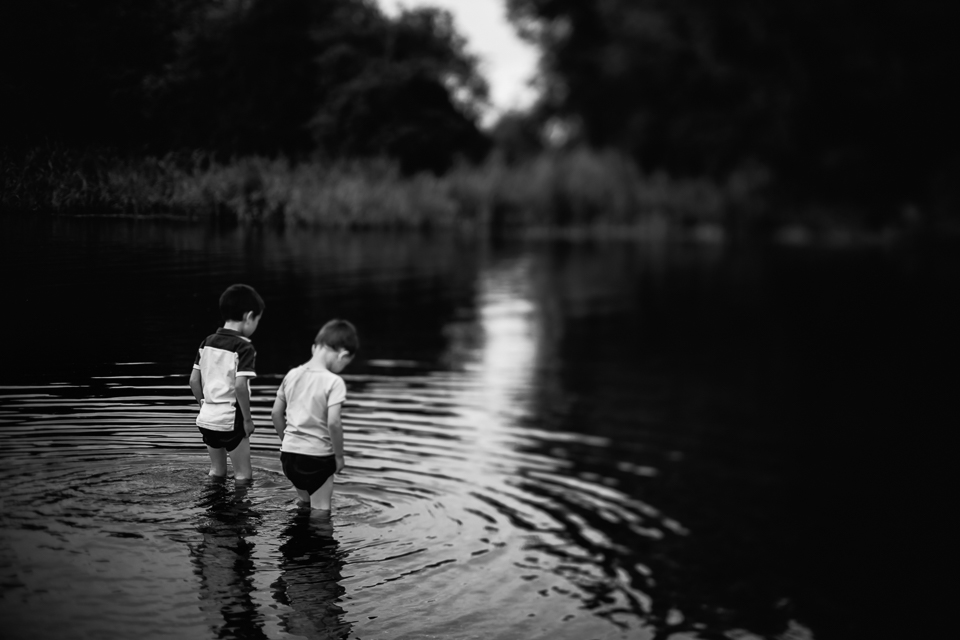
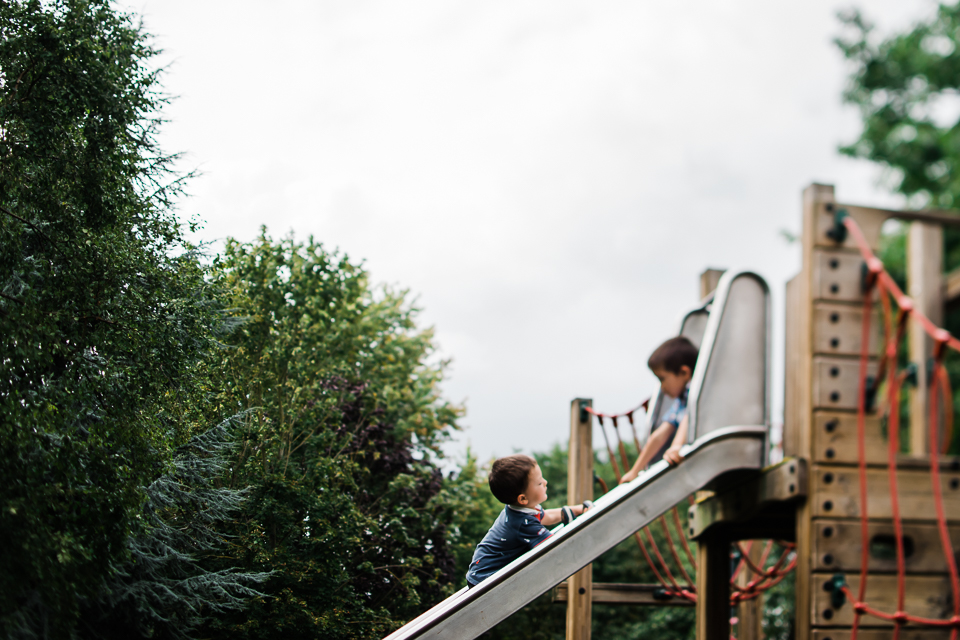
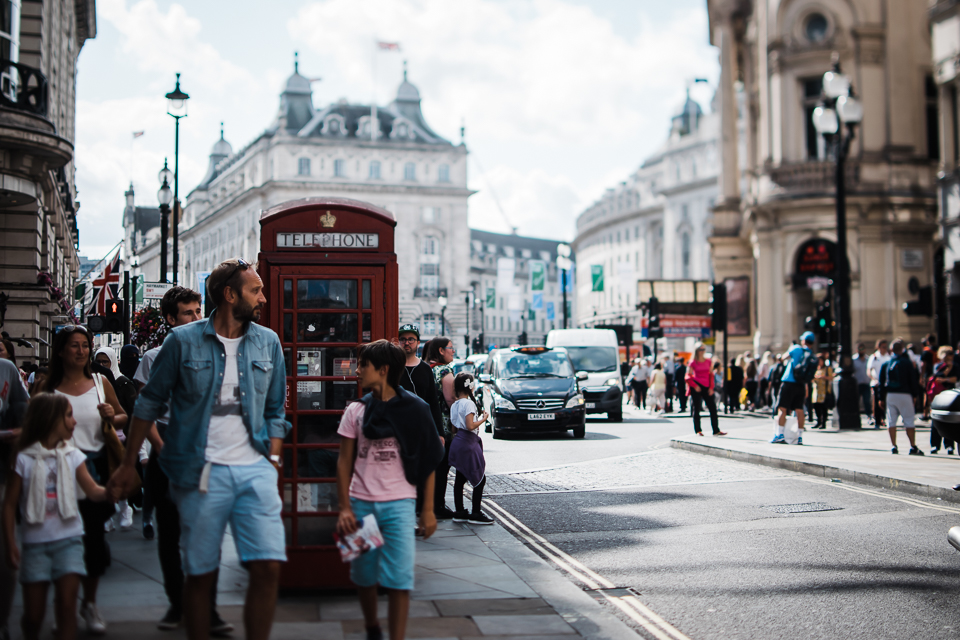
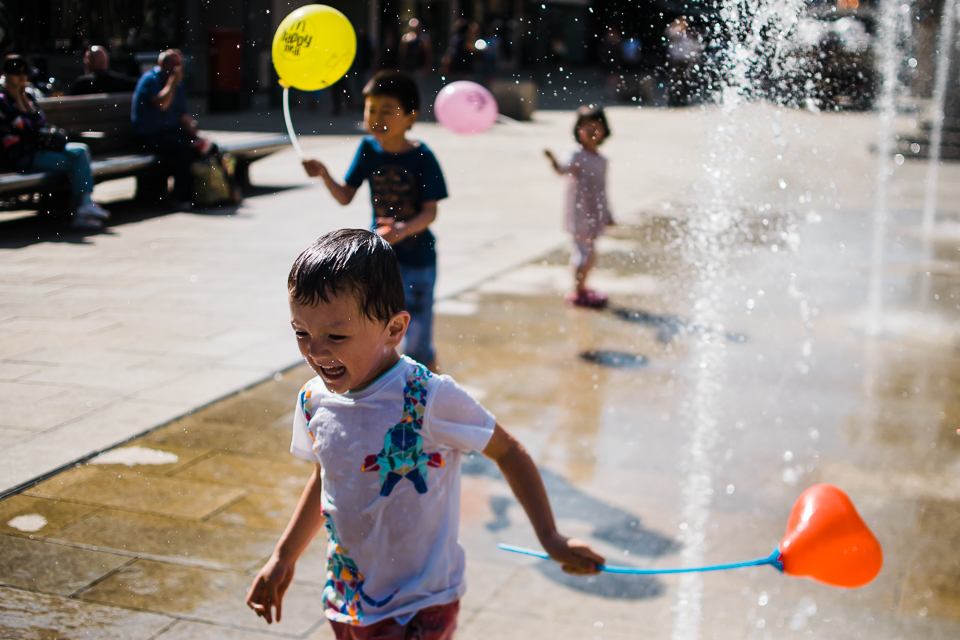
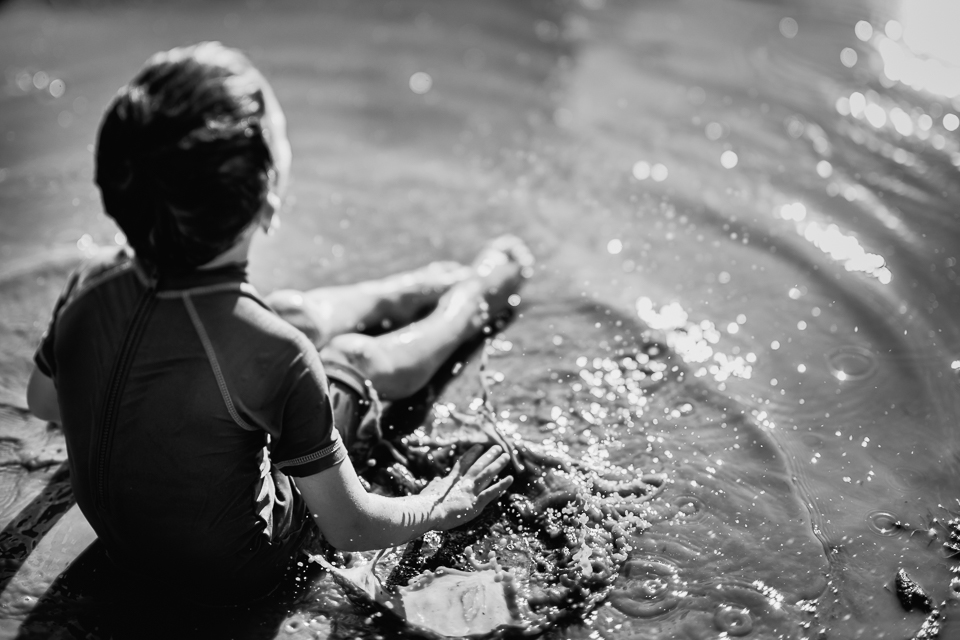
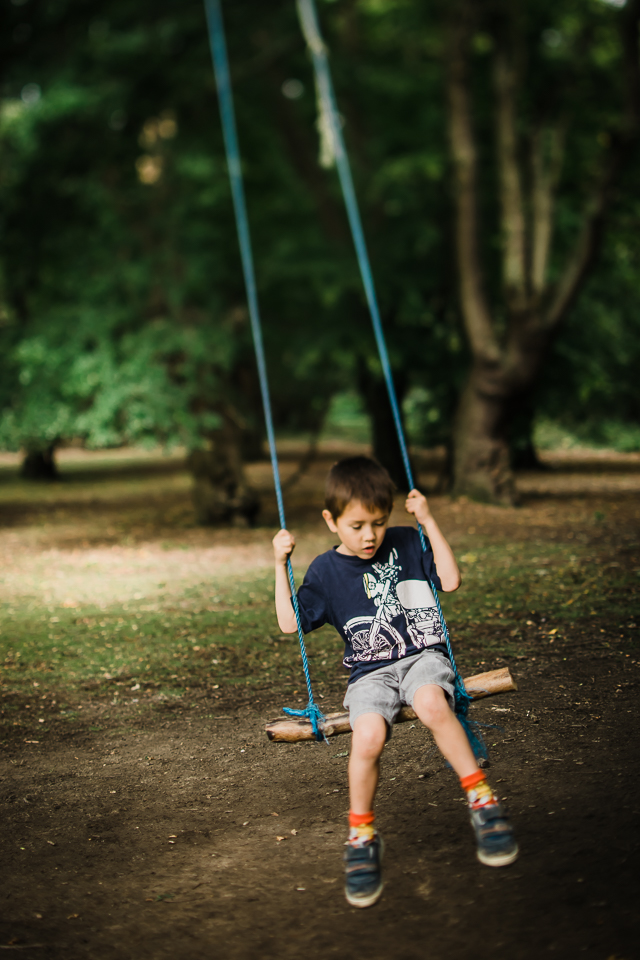
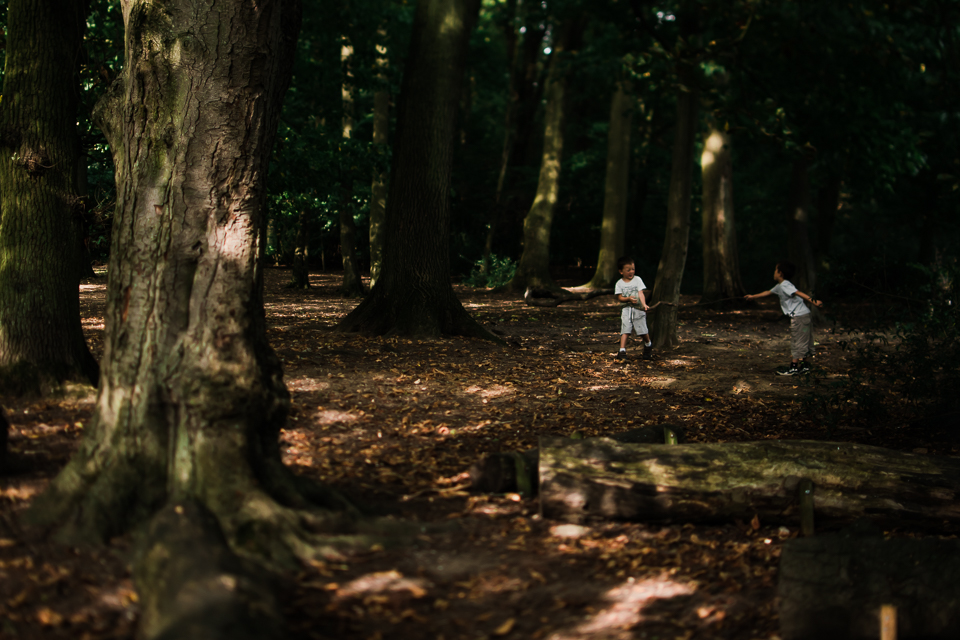
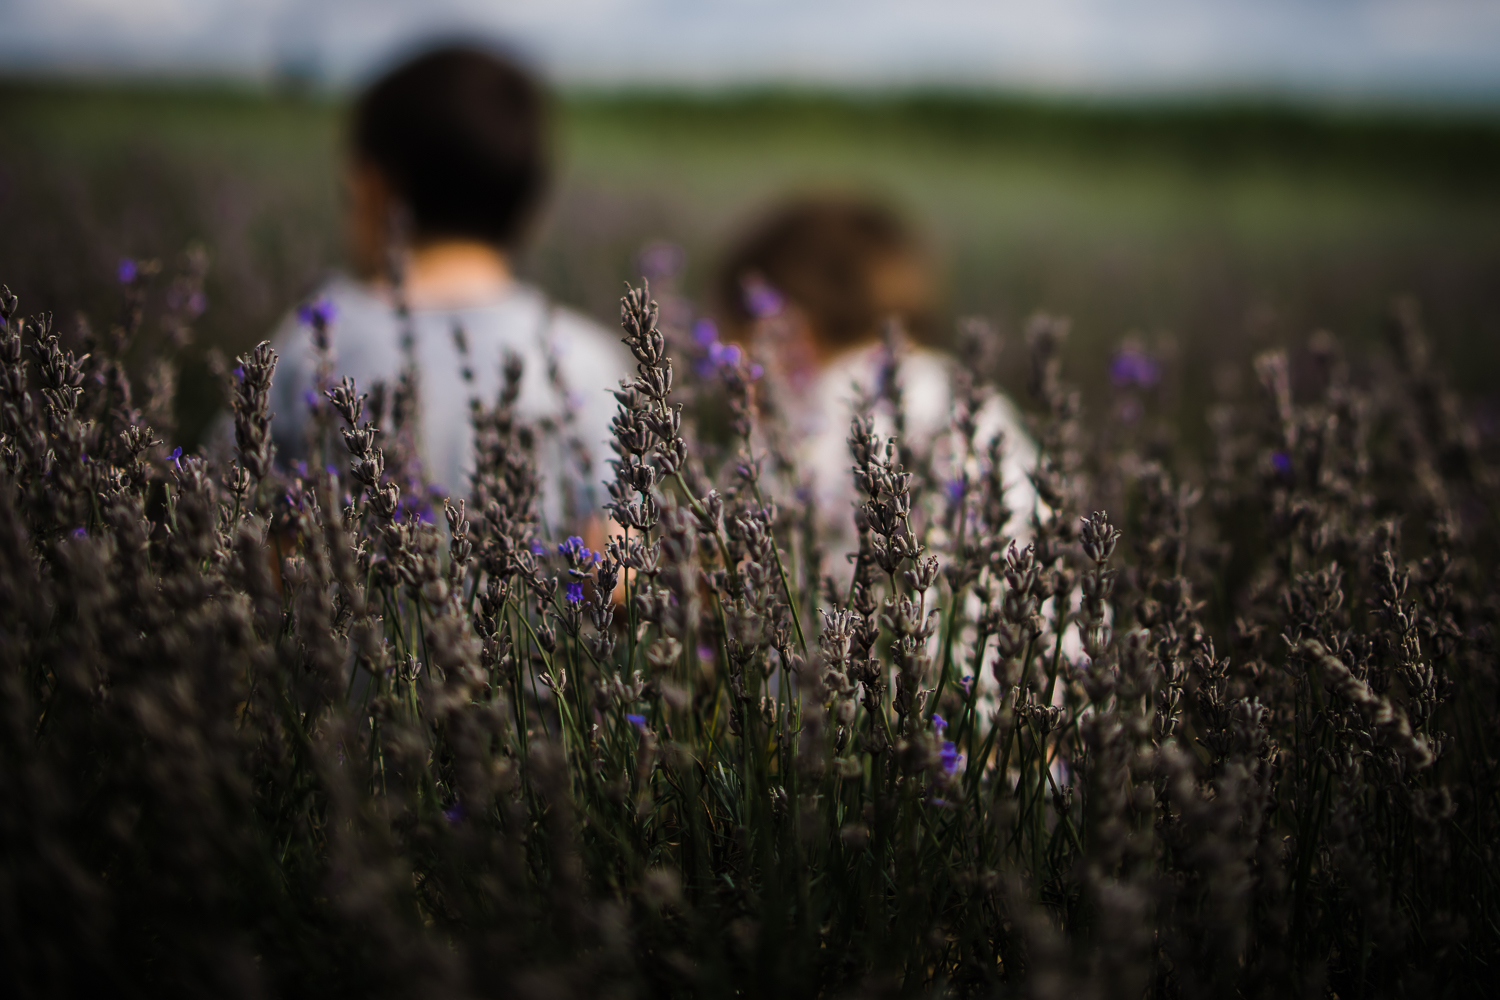
So, getting the technique part out of the way, freelensing is like using a tilt-shift lens. Actually, freelensing has been described as a “poor man's tilt-shift.” It's effects are similar – creating a dreamy bokeh, almost painterly effect - with only an area of the picture in focus.
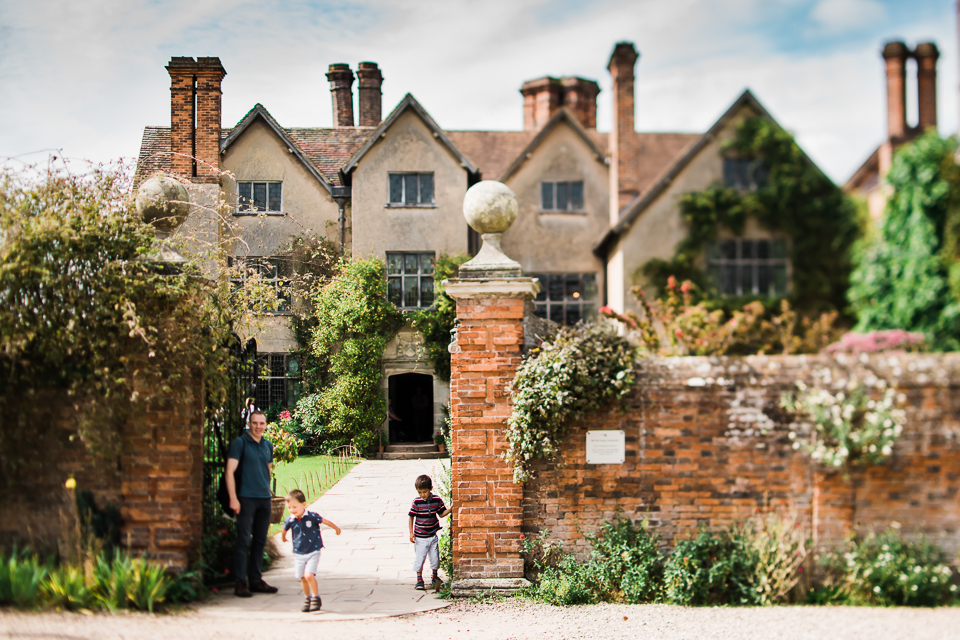
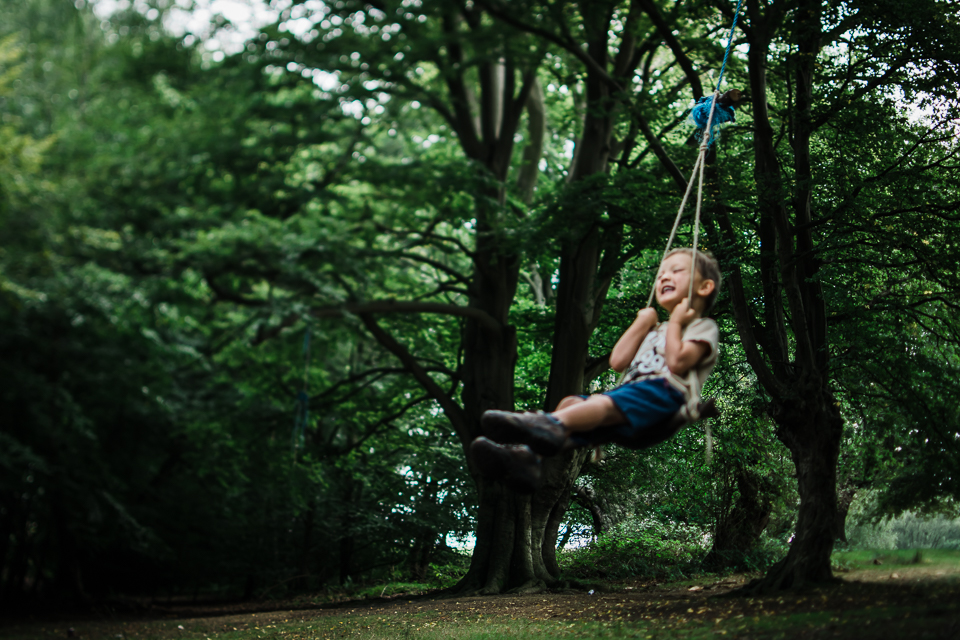
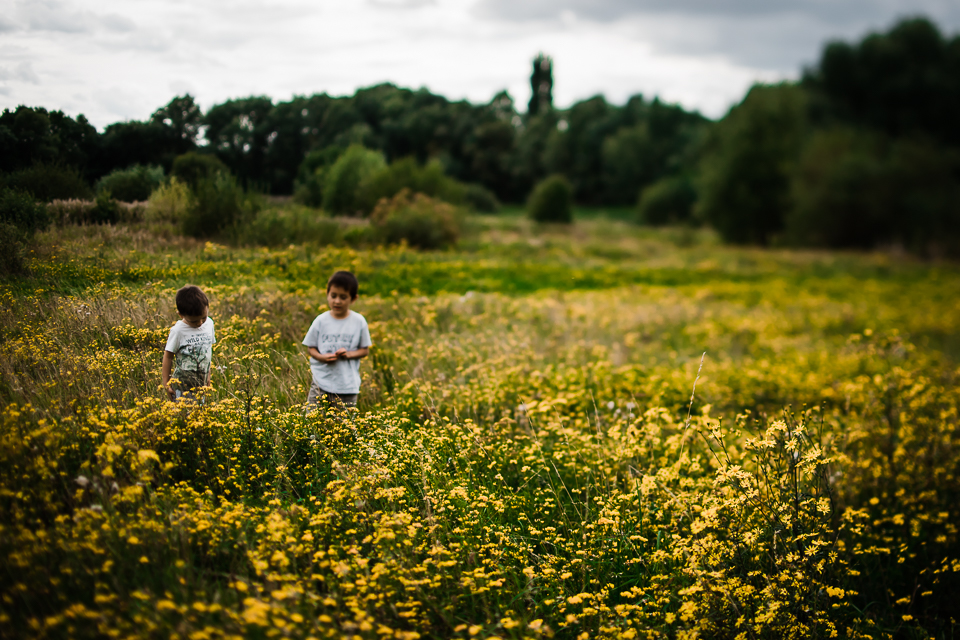
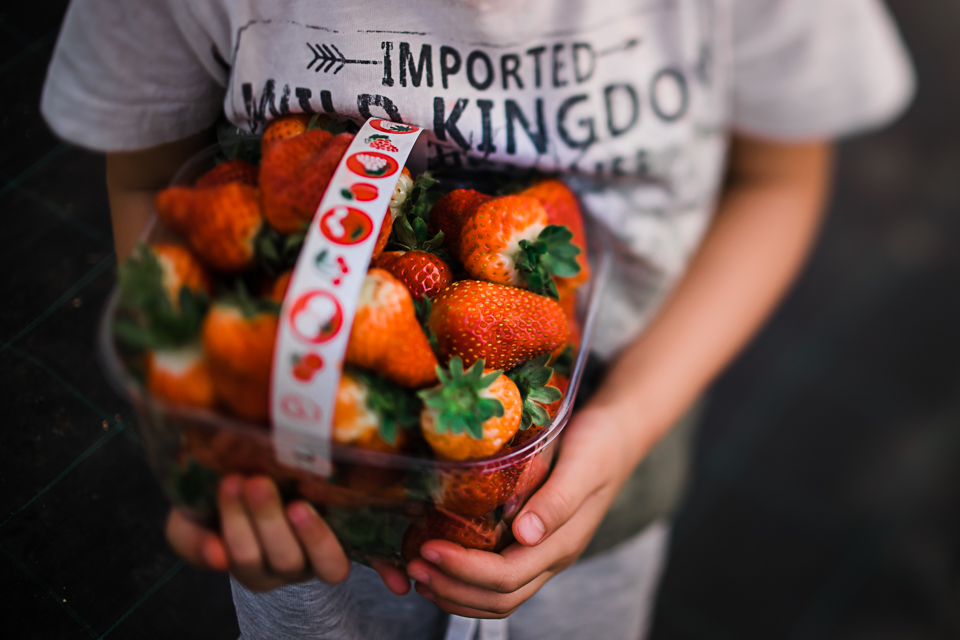
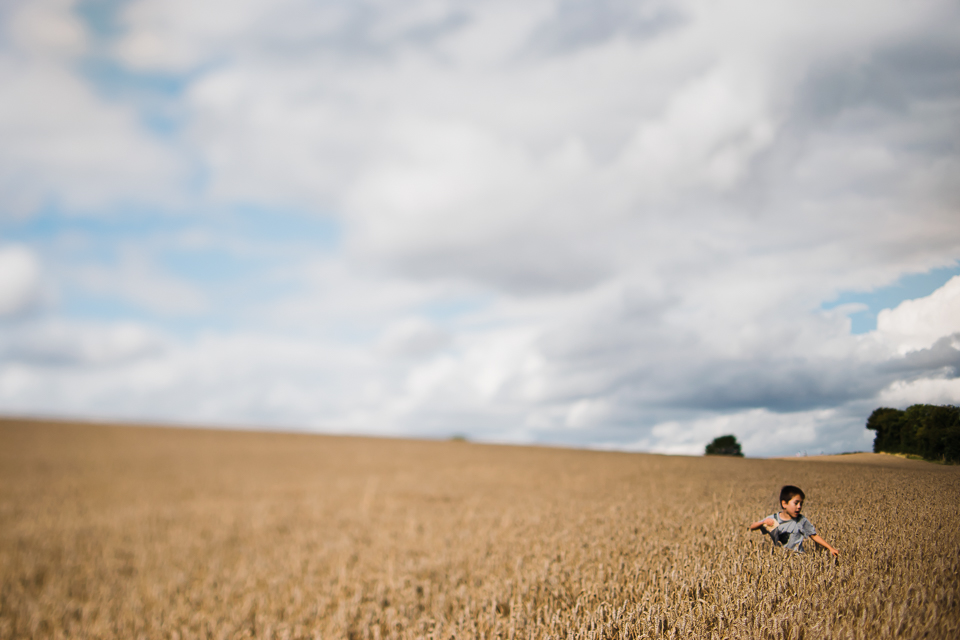
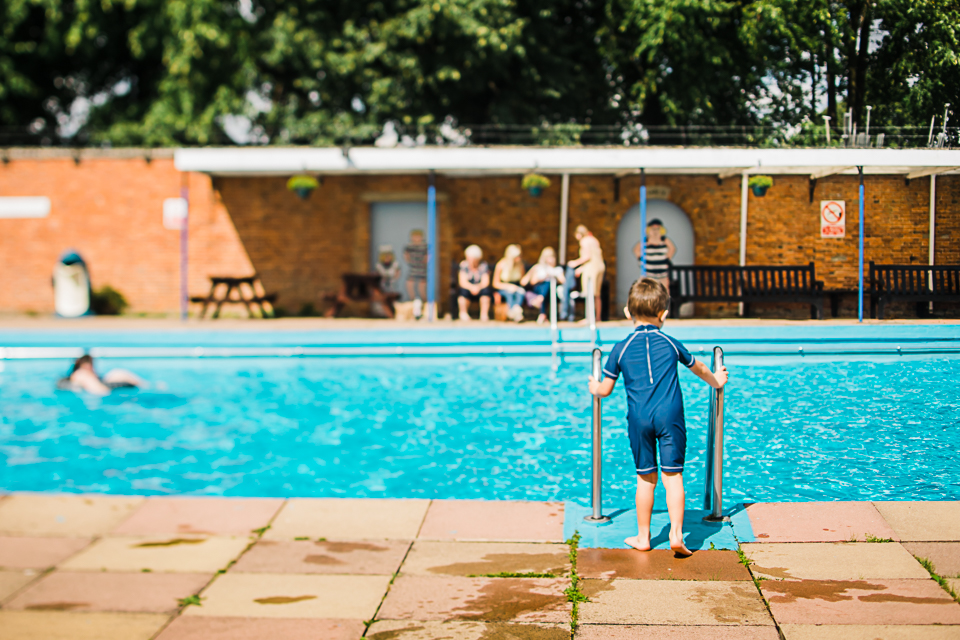
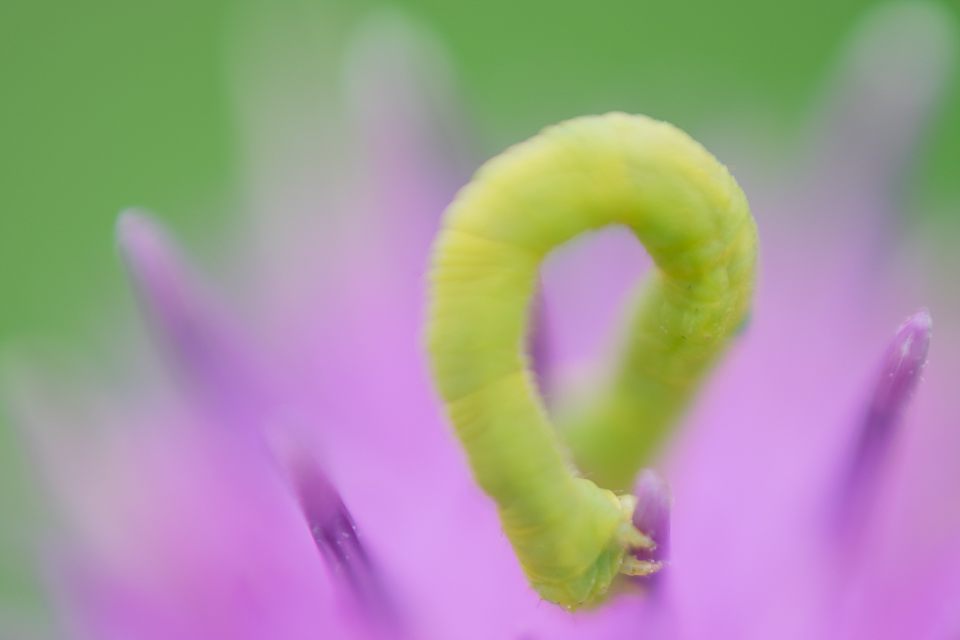
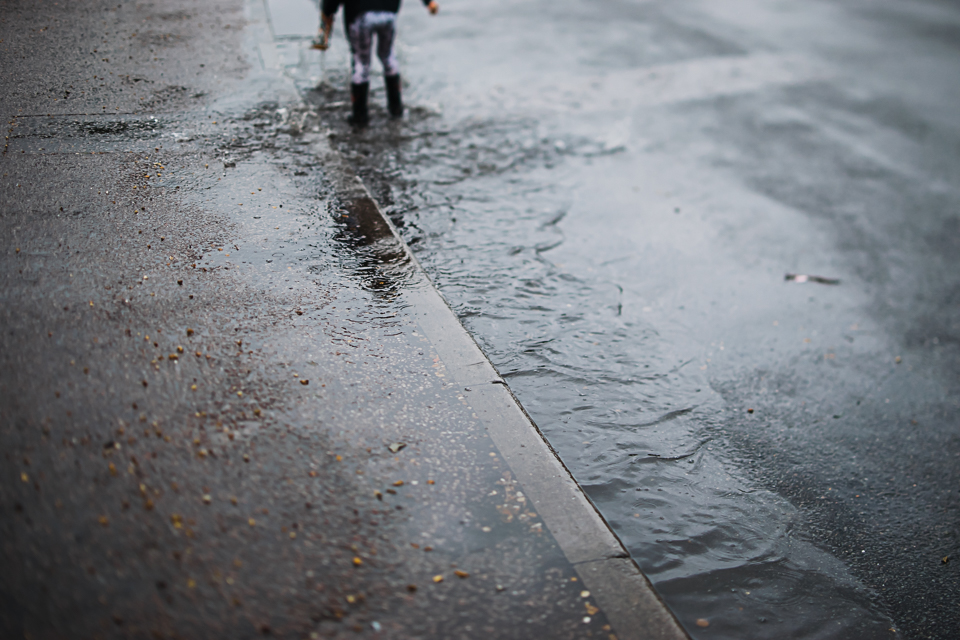
I dabbled with freelensing last year, but it was through the 'Freelensed31' project, which I did over on Instagram that I challenged myself to practice everyday and push myself creatively. Some of my favourite freelensed images from this project are shown in the gallery.


One last word. I was asked what challenges I faced in doing the project. Firstly, staying motivated to shoot daily. I was lucky enough to get to know some great photographers who inspired and encouraged me to keep going with shooting everyday. Everyone in our little project shared the same goal of wanting to learn and grow as artists, and we each brought our own inspirations as we chose different things to shoot or something to practice.
Secondly, I said at the beginning about learning to let go of what a picture should look like. Freelensing gives scope for a photographer's creativity and imagination, using light and focus to add a dream-like quality and magic to the pictures. As a photographer, it is important to me that I shoot how something feels and experience in that moment, rather than just how it looks. If it means adding a little magic to my pictures, then that is only a good thing.
[Postscript: I will be beginning a monthly share of my freelensing images from now on. If you are interested to follow along, please subscribe to my newsletter to receive my latest post. Meanwhile, please visit April Christopher's post to view the freelensing blog circle I am in.]